Thursday, October 22, 2015

What Not To Do When You Work on Cosplay #4


Hello Generation of Cosplayers! ^_^
DarthNancy here, bringing you more things not to do when you're working on your cosplay!

Today's topic is...what not to do when using a sewing machine or needle!

Don't be like Dee and try to run someone's hand under the needle!


For obvious reasons, you have to be super careful when you use a sewing machine, needles, and pins. I can't tell you have many times I have pricked myself with straight pins when trying to hem something, or how many times I have broken my skin with a sewing needle. The most serious thing you could do, though, is accidentally running your finger through the presser foot and stabbing yourself with the needle. I personally have not had this happened to me, it has happened to my mother. She somehow ran her finger through the foot and the needle came down on went into her nail. The worst part is that the needle broke and stayed in her nail so she had to pull it out. It was very gross and looked very painful! So make sure to pay attention when you are using the sewing machine!

Tuesday, October 20, 2015

Tip Tuesday #4: Sewing

Hi everyone!
Welcome to another Tip Tuesday post.

Today's topic will be...sewing!


Cosplay is an awesome hobby and some of us got into cosplay much earlier than others. For example, even though I've been going to conventions for about 10 years, I've only been cosplaying for about 3 years. Some people are also lucky to have previous sewing skills, while many of us have zero experience with sewing. Sewing and clothing construction skills are extremely useful when you're a cosplayer, because you can create and alter cosplays on your own (without the need for buying every part of your cosplay). If you're like me, and have absolute no sewing skills and no clue how to use a sewing machine, start by teaching yourself some sewing basics. If you can, sign up for a beginners sewing class. That will teach you many essential basics! But if you can't, use online tutorials to help you how to learn.

http://sewsitall.blogspot.com/2010/10/hand-sewing-basic-stitches.html

I suggest starting with basic hand sewing. I used THIS blog post to teach me about basic stitches. Try making something small and easy (like a small bag, or a bow). The first thing I made was the bows for my Candy Cane Miss Fortune guns; that was a great beginner project. Although for some people it works to dive in at the deep end of a pool (i.e., start with a difficult project), it is usually better to start off small. Once you get the hang of some basic hand sewing, try your hand at using a sewing machine (but that's a whole separate thing!)


Saturday, October 17, 2015

Cosplay Tutorial: Mercenary Katarina (LoL) Arm Bracers


Hello Generation of Cosplayers!

Here's another oldie that I wanted to post on here. This is for Katarina's arm bracers! These could be used for her regular skin or for Mercenary Katarina (which is the skin I made these for). 


Products Used
  • Scissors 
  • Worbla
  • Craft foam
  • Heat Gun
  • Gesso primer
  • Spray paint (silver)
  • Small brushes
  • Acrylic paints (black and silver)

Tutorial


1. I started out by making a pattern with craft foam (you can see THIS tutorial). Then I  proceeded with the "sandwich Worbla" method for making armor pieces. Basically this is using two layers of Worbla to sandwich the craft foam pattern you made (so you will have worbla-craft foam-worbla). This ensures that the armor piece will be thick and durable. For the arm pieces, I used one piece of craft foam and two pieces of Worbla to create a cuff-like shape. I used my heating tool to bind the pieces together and to bend the Worbla into a cylinder shape that would fit around my wrist. The easiest way to shape the Worbla is to heat it up and then to gently bend it, then place it over the area you will be wearing it on. In this case, I wrapped it around my wrist (I protected this area with a thin sweater since the Worbla will be hot), and then gently pressed it so it would get a good shape (although it did not end up perfect).


Cosplay Tutorial: Mercenary Katarina (LoL) Breastplate Armor


Greetings Generation of Cosplayers!
This is an oldie, but a goodie! I created my Mercenary Katarina cosplay a while ago (2 years ago) and I thought I would share it here! This was the first thing I ever made with Worbla. Scratch that, this was the first cosplay prop/armor I ever made. I messed up a lot, but it was such a good learning experience. I've been wanting to remake this but I haven't had the time or money for it. For the mean time, enjoy this old Worbla tutorial!


The first part I began to make for my Mercenary Katarina costume is her breastplate. I should begin by saying that I had never seen anyone actually make an armor piece for this costume. All the cosplays I've seen use a black corset or something made out of fabric.So I had no idea how this was going to come out xD

1. I used Kamui's tutorial on how she makes patterns and breastplate armors. She is an amazing cosplayer and her videos are really helpful!! Basically she uses Worbla, craft foam, and a heating tool. I had never used Worbla before this, but she made it look so easy! Well, I had no idea what I was getting myself into! This is NOT as easy as it looks. It definitely takes practice. But I went into anyways. Armed with a sheet of Worbla, some craft foam and a heating tool, I started to make my breastplate. 

Thursday, October 15, 2015

Prop Tutorial: Yamuraiha (Magi) Staff

"Sorry, but I'm a genius magician ^_~" -Yamuraiha


Hi everyone! It's time to show you guys a sort of tutorial on the staff I made for my Yamuraiha cosplay. This was the first staff I have ever made and the biggest prop I've ever made. I messed up a lot on it, but that only means I learned a lot from making those mistakes. I am here to give you guys some tips on how to go about making a prop like this. You might see that my staff does not break down into two parts (because I messed up on that part) so it makes transportation a little difficult. I am planning on remaking this staff at some point, so I will have a better tutorial for a two piece staff later on. Because this staff has such an organic shape, it is a rather easy beginner project.  Anyway, to the tutorial!!


Materials Used
  • Reference pictures
  • Large piece(s) of cardboard or poster board
  • Writing utensil
  • Box cutter
  • 2 8" Styrofoam half orbs (they are sold by halves)
  • Wooden dowel/stick/PVC pipe (for support)
  • 2 cans of expandable foam
  • Carving knife
  • 1-2 rolls of masking tape
  • Newspaper
  • Paper Mache glue (I make this out of water, Elmer's glue, and cornstarch)
  • Fast Mache (or plaster)
  • Sandpaper
  • 1-2 bottles of woodglue
  • 1 can of pink spray paint
  • Sealing spray

Tutorial


1. Find a whole bunch of reference pictures to help you decided on the shape of the staff. I used the photo below because Yamura's staff changes a lot from episode to episode, and frame to frame. This is the shape I liked the most, and the one I wanted to create.


Friday, October 9, 2015

Cosplay Tutorial: Cutting a Wig

Hello Generation of Cosplayers! ^_^
DarthNancy here~ 

I recently received the wig for my Shizuku (Hunter x Hunter) cosplay, and I thought it would be a really good opportunity to show you guys how I go about cutting and styling a wig. Now, you can certainly wear a wig without cutting it and styling it, but cutting and styling will make your cosplay look overall more accurate and more neat. 

This is an example of the difference two steps can make. The wig I will be showing you here was specifically purchased on eBay as a "Shizuku" wig (you can check out the listing HERE). On the pictures shown of the wig, the wig has already been cut and styled. A lot of people assume that the wig show in the photos of the shop is the wig they will be getting. Do not ever assume this. Most of the time (although not always) you will be getting an unstyled wig that looks really different from the shop's photos. Always keep that in mind. Anyway, I got the unstyled wig for Shizuku, so now it is my job to style it myself. Here is how I go about doing this! 


Step 1: Wear the unstyled wig over a wig cap. Wear the wig so you can see what needs to be cut and what doesn't. Just using a wig stand will not be enough. Make sure you try it on yourself first before cutting anything. As you can see, I tried on the wig and marked off the bags with a hair tie. This was also to see how much of the bangs I was going to cut off.


Monday, October 5, 2015

CosplayTutorial: Yamuraiha (Magi) Bra Shells

Hey, Generation of Cosplayers!
DarthNancy here ^_^


Materials Used
  • Shells pattern (drawn out or printed out)
  • Nude strapless bra (with clear straps)
  • 2 sheets of craft foam
  • Worbla
  • Heat Gun
  • Hot Glue Gun
  • Wood Glue
  • Paint brushes
  • Pink acrylic paint (whatever colors you want)
  • Acrylic paint seal spray

Saturday, October 3, 2015

Makeup Tutorial: Candy Cane Miss Fortune (League of Legends)

"Sure you can handle me, Summoner?


Hey, everyone! It's time for another makeup tutorial! 

Cosplay makeup can be both really fun and very frustrating to do. If you know exactly what you want to do, it will make your cosplay look really great. But, if you have no idea what you are doing, you will want to pull your hair out! I have been really frustrated with Miss Fortune's makeup, because her splash art (and in game model) show her wearing an insane amount of makeup (eyeahdow in particular). I want my cosplay to be accurate, but I also don't want to end up looking like a $5 hooker. So, I've been looking for a middle ground with her makeup. 

Today, I have a makeup tutorial for the makeup that I have been happy with so far. I decided to use green eyeshadow to add to the Christmas feel, but I toned it down with some neutral/brown eyeshadows. Oh, and you'll notice in the tutorial that I forgot to put my circle lenses in at the very beginning, so make sure you put them in before starting your makeup!


Thursday, October 1, 2015

What Not To Do When You Work on Cosplay #3: Heat Gun

Hello Generation of Cosplayers! 

DarthNancy here ^_^ It's What-No-To-Do Thursday!  It's time to talk about the mistakes many of us make while we work on cosplay.

Today's topic will be... what not to do when using heat gun!


A heat gun is precisely what it sounds like: a gun that applies high heat. Heat guns are particularly popular in the cosplay world for working with thermoplastics like Worbla. Heat guns can be pretty dangerous, so it is important to handle them with care.

What can go wrong with a heat gun? Well, first of all you can burn yourself with the hot air and/or with the extremely hot steel end of the gun. I myself have burned myself by accidentally touching the tip of the heat gun...it was not fun T_T Don't burn yourself!

It is also extremely important that you work on cement or non-flammable surface. As you can see in the image about, I worked on my cosplay project over cement. If you use a heat gun on carpet or wood, you will burn it and run the risk of catching it on fire! You don't want to catch your house on fire for working on cosplay. Just don't do it, okay?

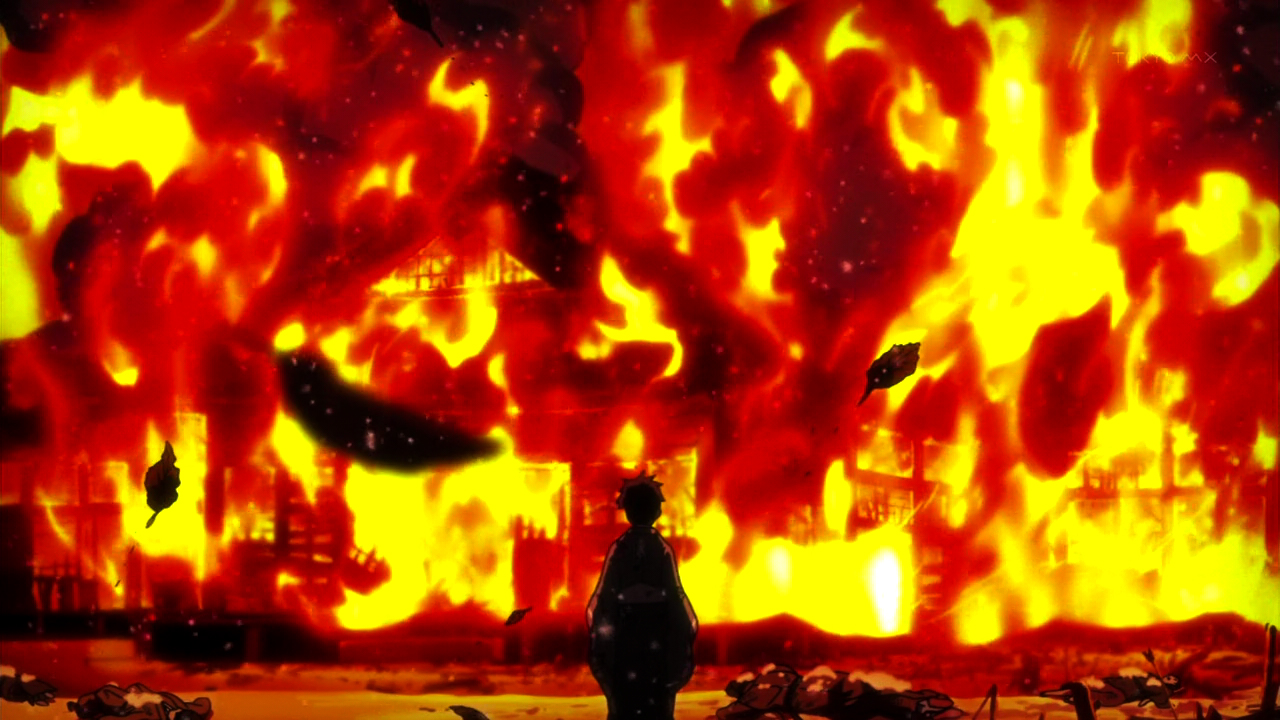
You don't want this to happen...


See you next time ^_^
Star Wars Font